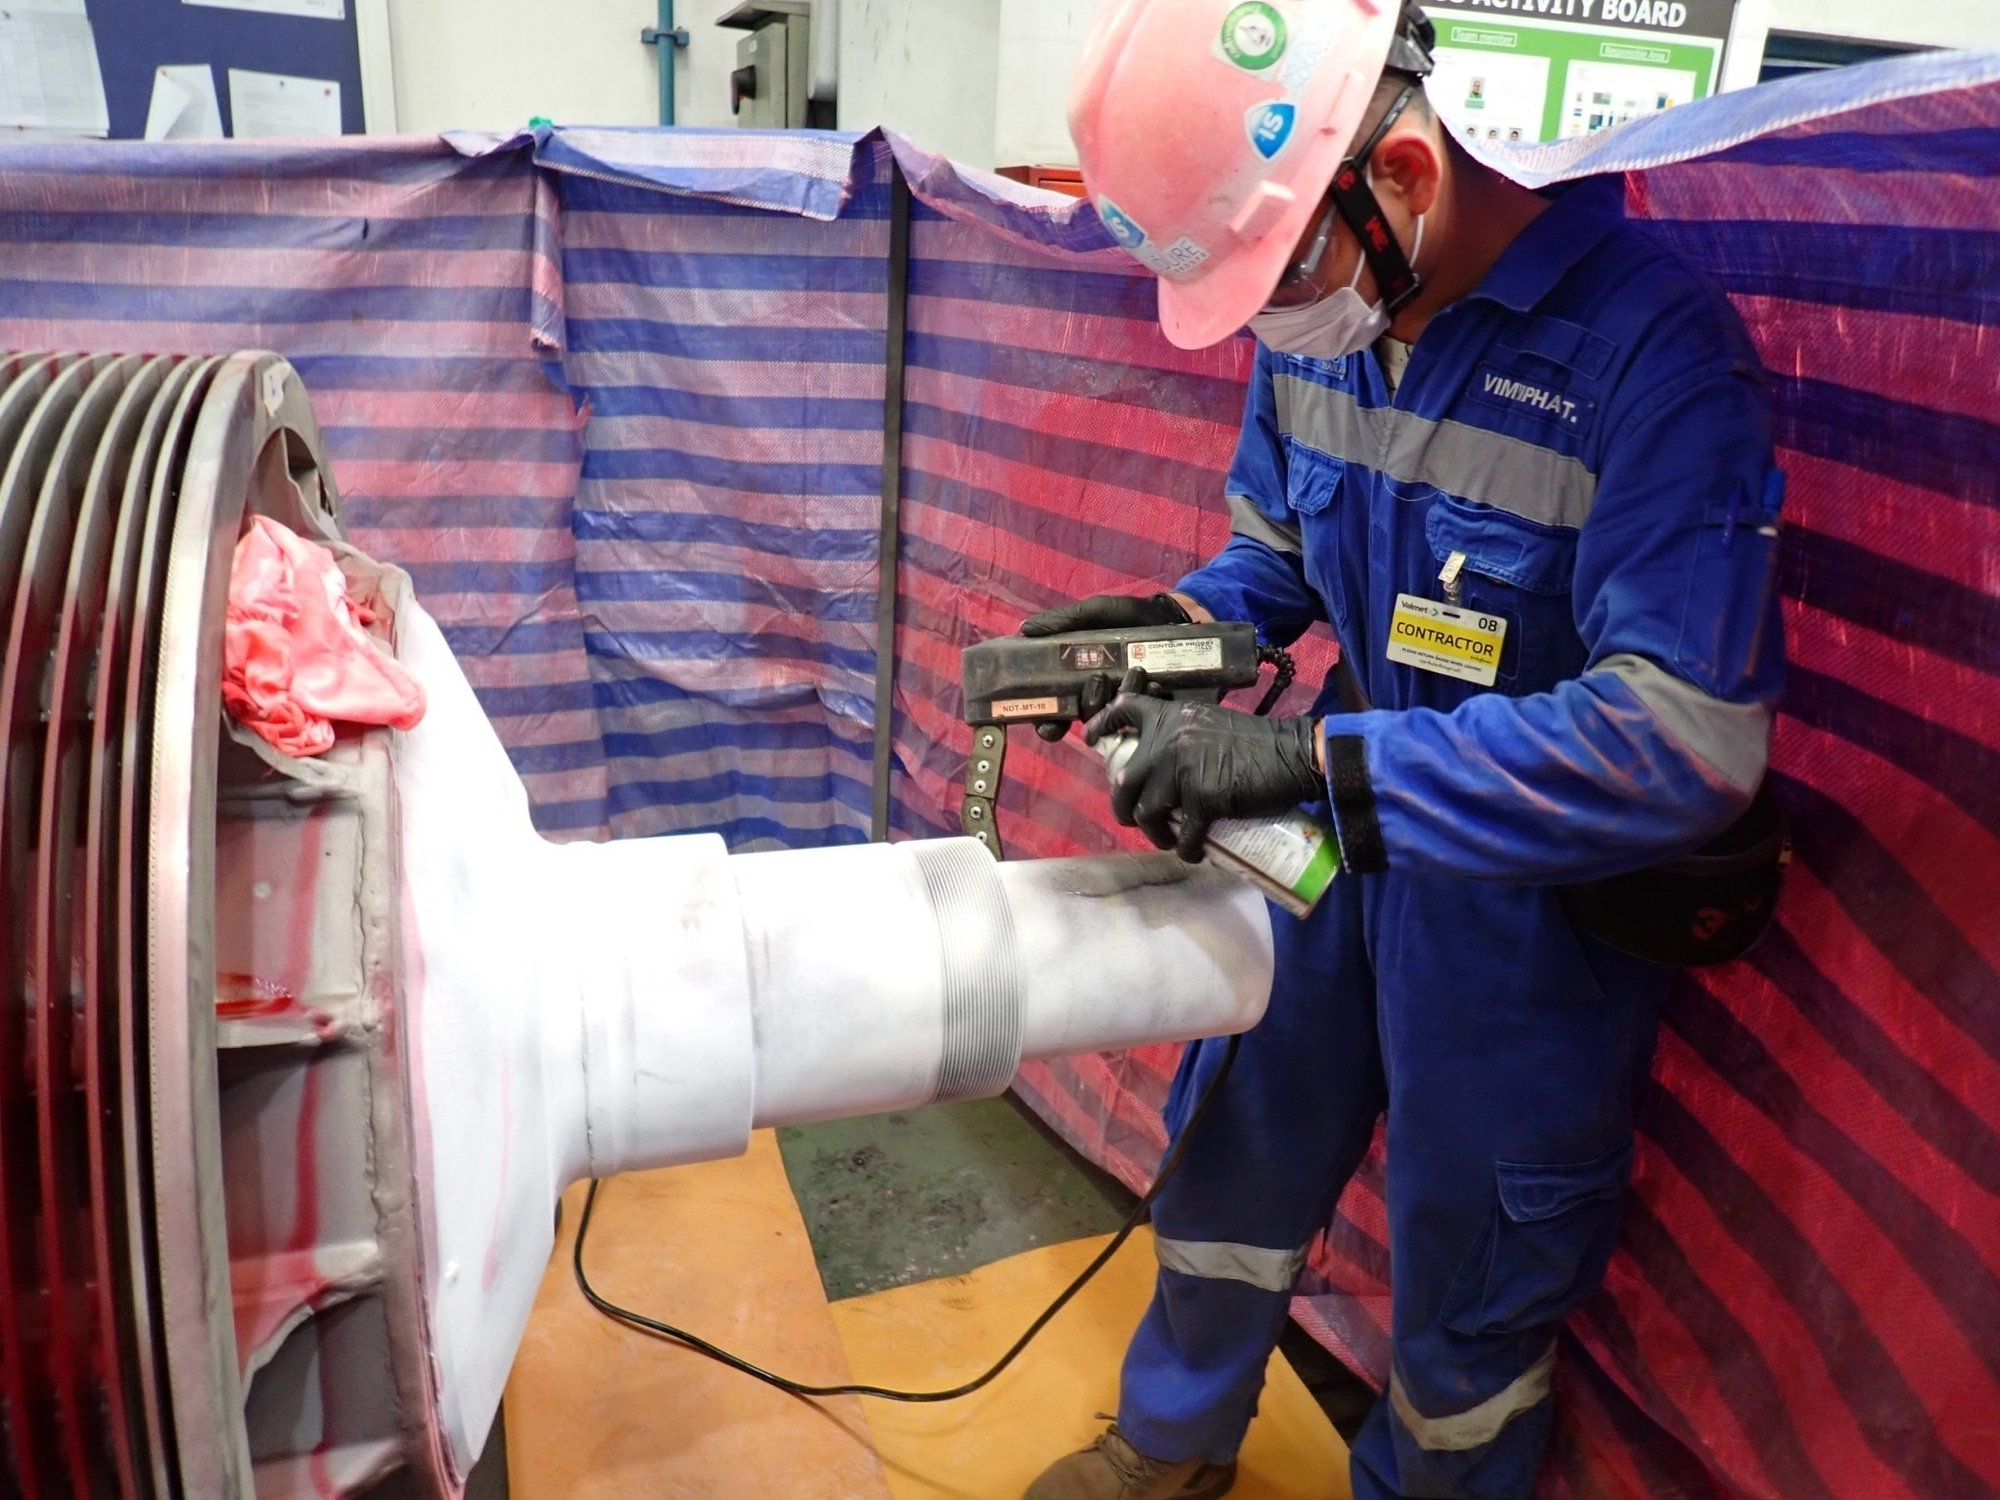
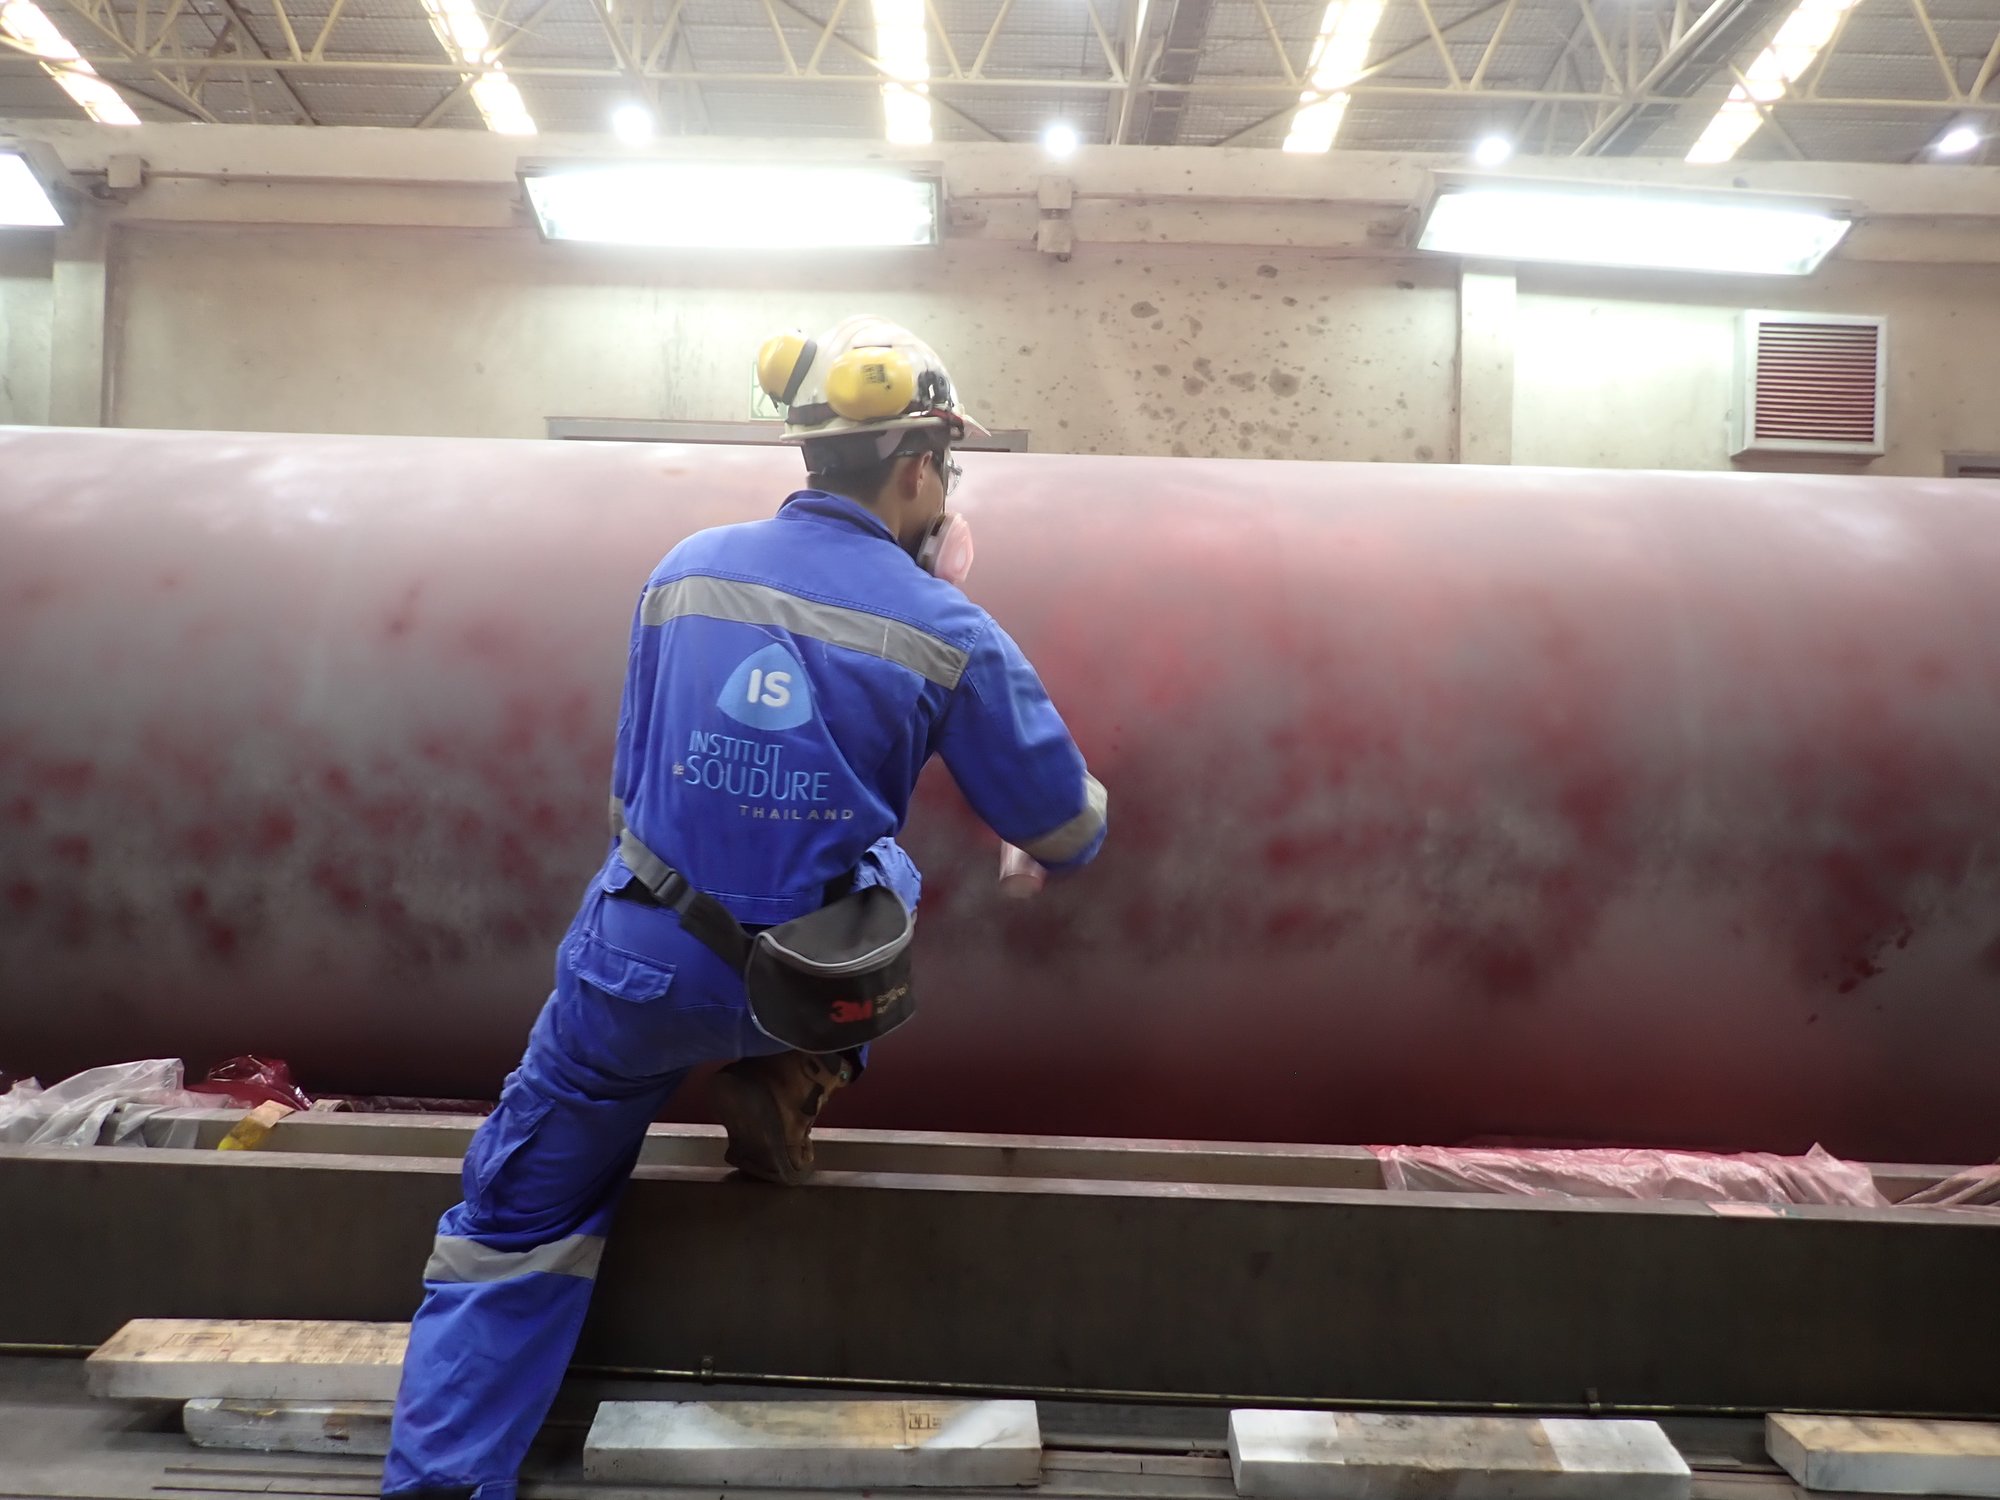
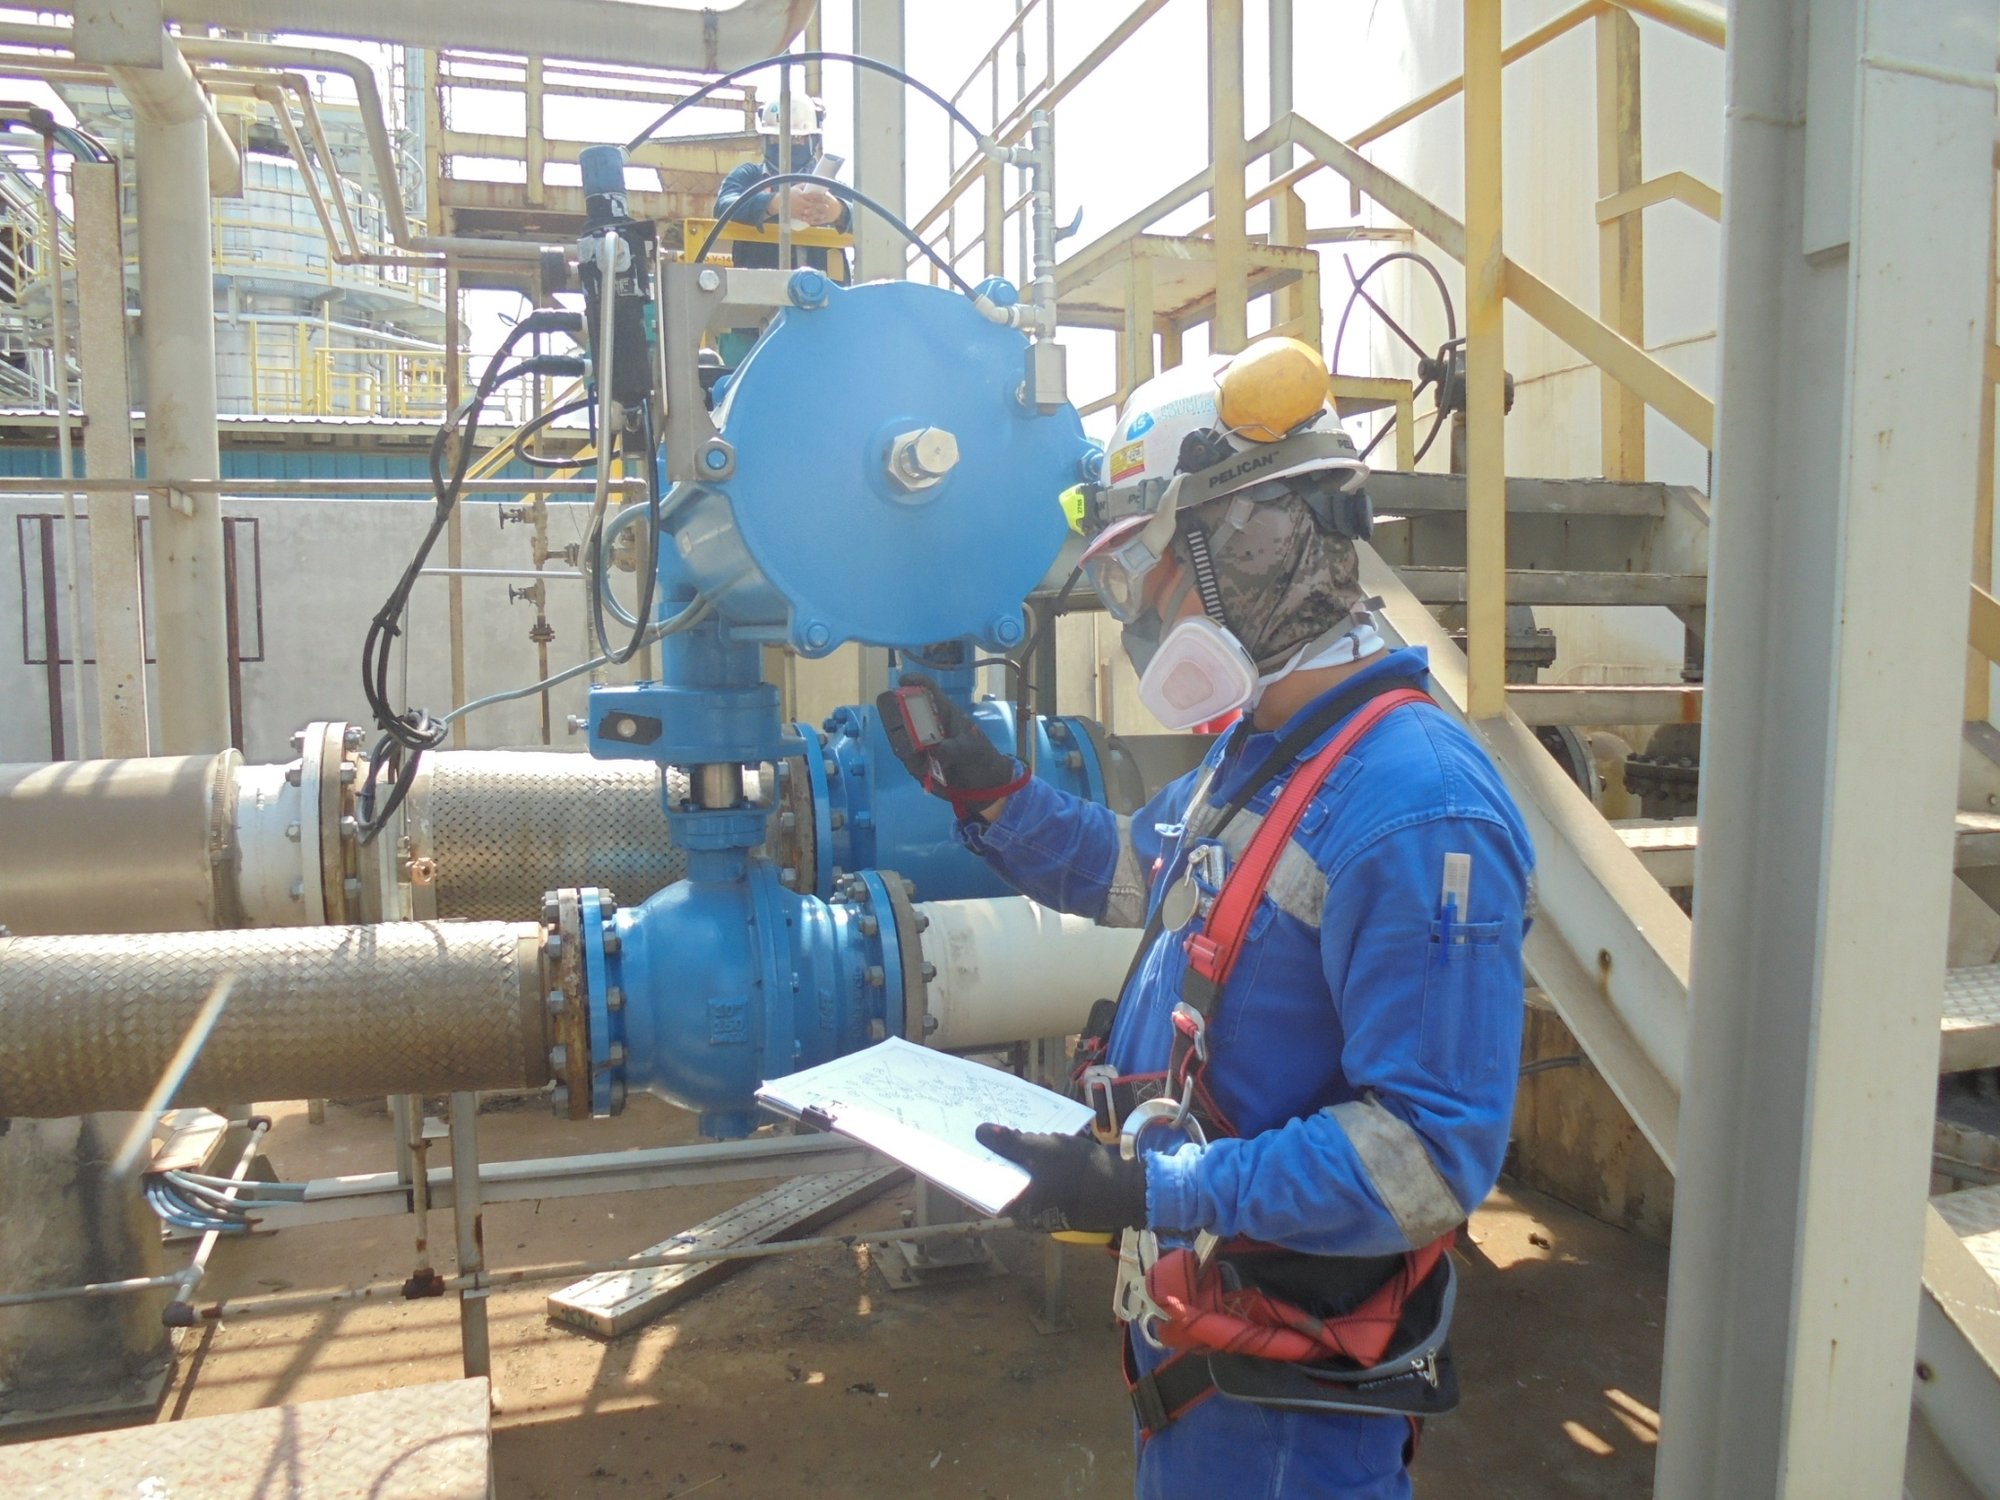

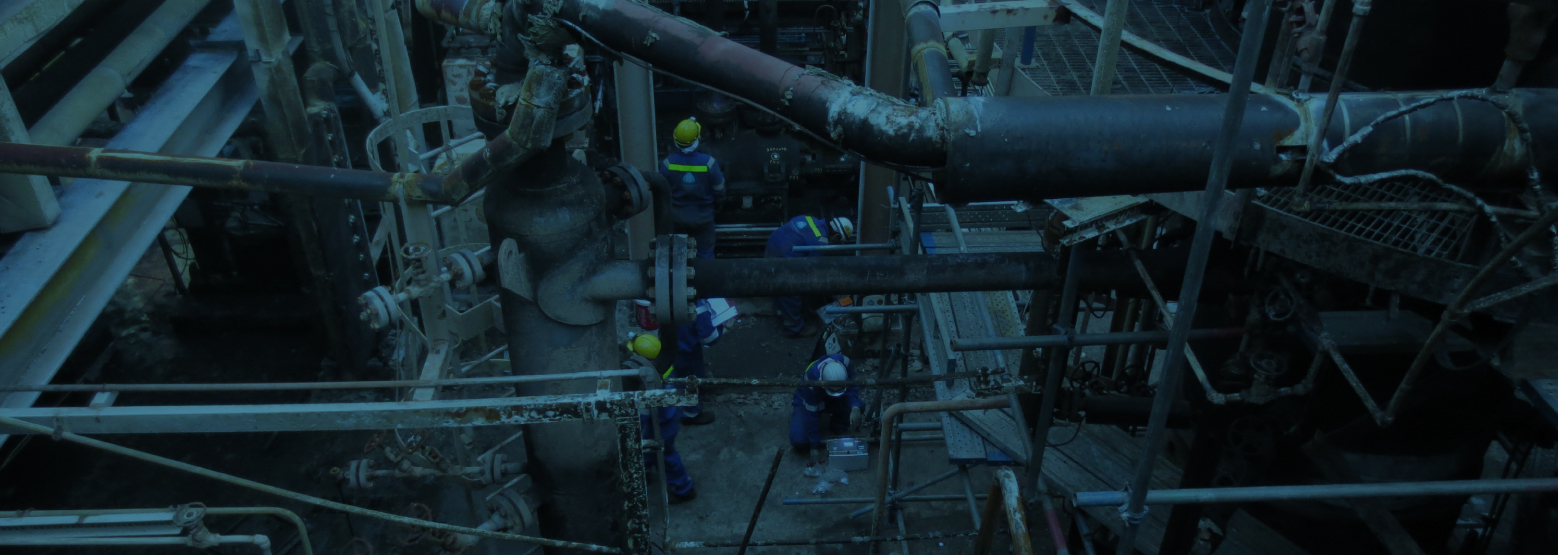

Magnetic particle testing may be defined as an NDT method to detect surface and subsurface discontinuities in ferromagnetic materials.
Magnetic particle testing is a relatively simple test method which can be applied to finished products, billets, blooms, bars, casting. Forgings and weldments. It can also be used to check and control processing operations like heat treatment, machining, grinding etc. The testing consists of magnetization of the produce, application of the magnetic particle parties and interpretation of the patterns formed by the particles as they are attracted by magnetic leakage fields.
Coating thickness gauges are typically non-destructive testing tools, meaning they can measure coating thickness without damaging the underlying substrate. This is crucial in applications where the substrate's integrity needs to be maintained.

Liquid penetrant testing can be defined as a physical and chemical nondestructive testing procedure designed to detect and expose surface connected discontinuities in nonporous engineering materials.
The method relies on the physical interaction between an appropriately formulated chemical liquid and the surface of a part. This interaction causes the liquid to enter surface cavities and later to emerge, visually indicating the location and approximate size and shape of the surface opening. The objective of liquid penetrant testing is to provide visual evidence of cracks, porosity, laps, seams and other surface discontinuities rapidly and economically with a high degree of reliability. This objective is facilitated by formulating the liquid to include dyes that are highly visible with either white or near ultraviolet radiation. With proper technique, liquid penetrant testing will detect a wide variety of discontinuities ranging in size from readily visible to microscopic.

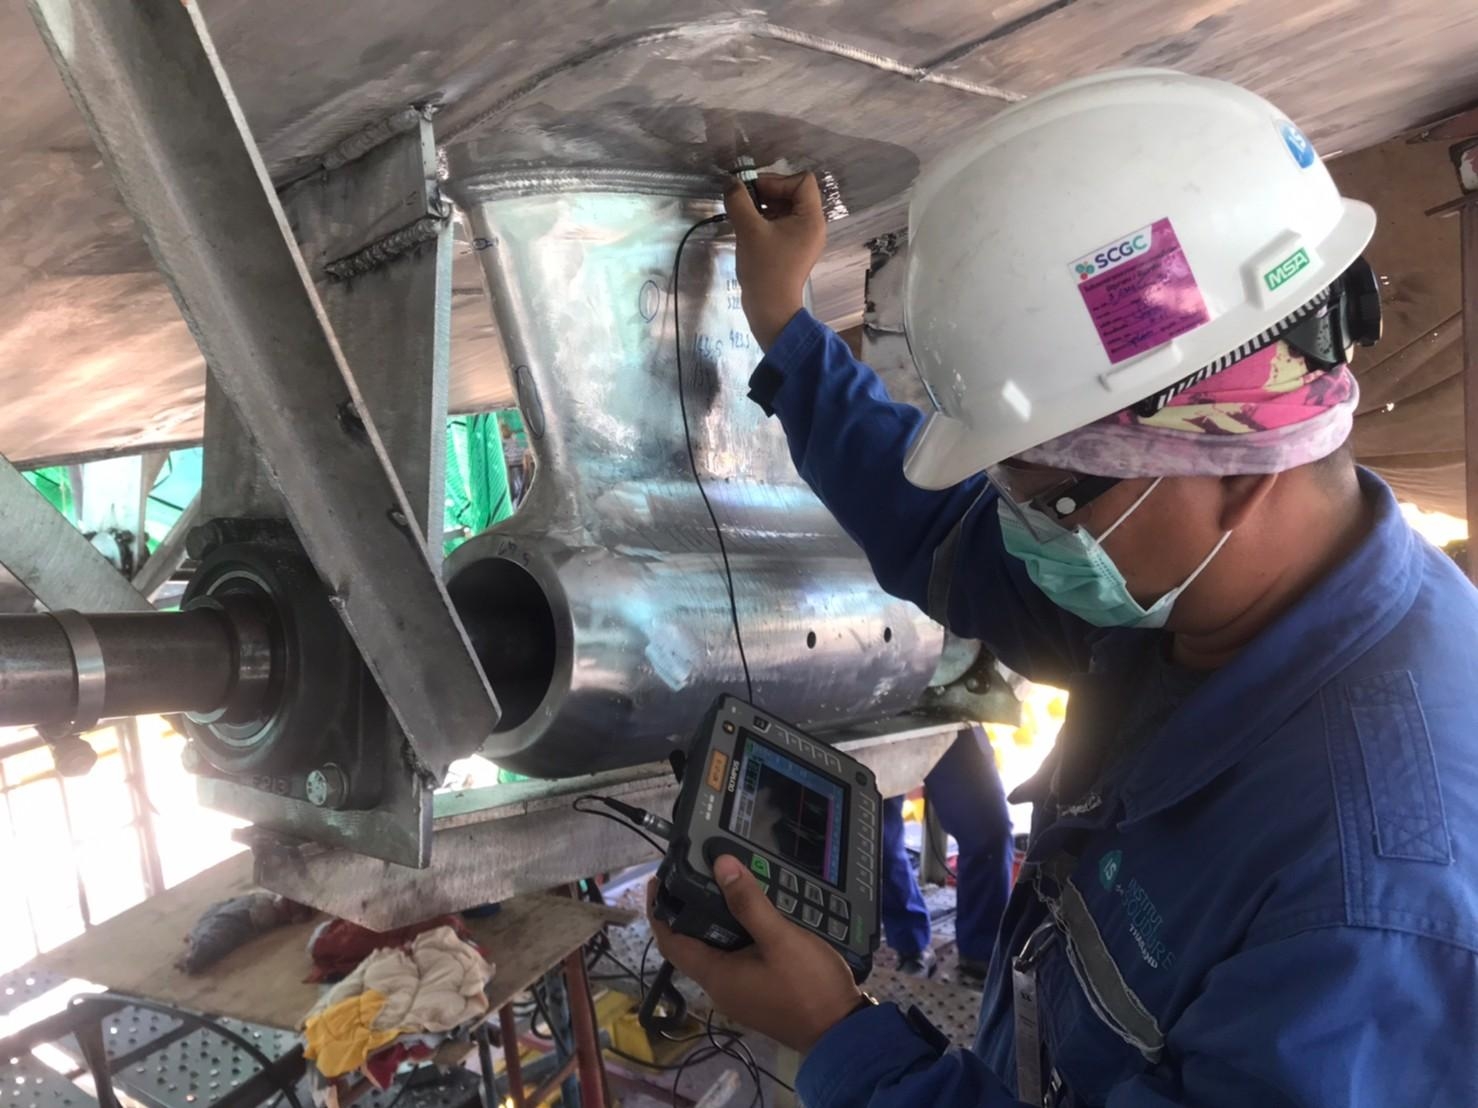
Ultrasonic testing is a nondestructive method in which beams of sound waves at a frequency too high to hear are introduced into materials for the detection of surface and subsurface discontinuities in the material. These acoustic waves travel through the material with some attendant loss of energy (attenuation) and are reflected at interfaces. The reflected beam is displayed (or reduces the display of transmitted sound) and is then analyzed to define the presence and locations of discontinuities or discontinuities.
Ultrasonic testing of metals is widely used, principally for the detection of discontinuities. This method can be used to detect internal discontinuities in most engineering metals and alloys. Bonds produced by welding, brazing, soldering and adhesive bonding can also be ultrasonically examined. Inline techniques have been developed for monitoring and classifying materials as acceptable, salvageable or scrap and for process control. Other applications include testing of piping and pressure vessels, nuclear systems, motor vehicles, machinery, structures, railroad rolling stock and bridges and thickness measurement.

Ultrasonic testing is an important method within the broad field of nondestructive testing. Ultrasonic techniques usually fall into one of the following categories: internal discontinuity detection, cross section evaluation (thickness testing) or bond characterization. Some techniques can be subdivided even further. Cross section evaluation (thickness testing, corrosion mapping and others) is the most widely used application as applied to new and in-service components used in various industries.
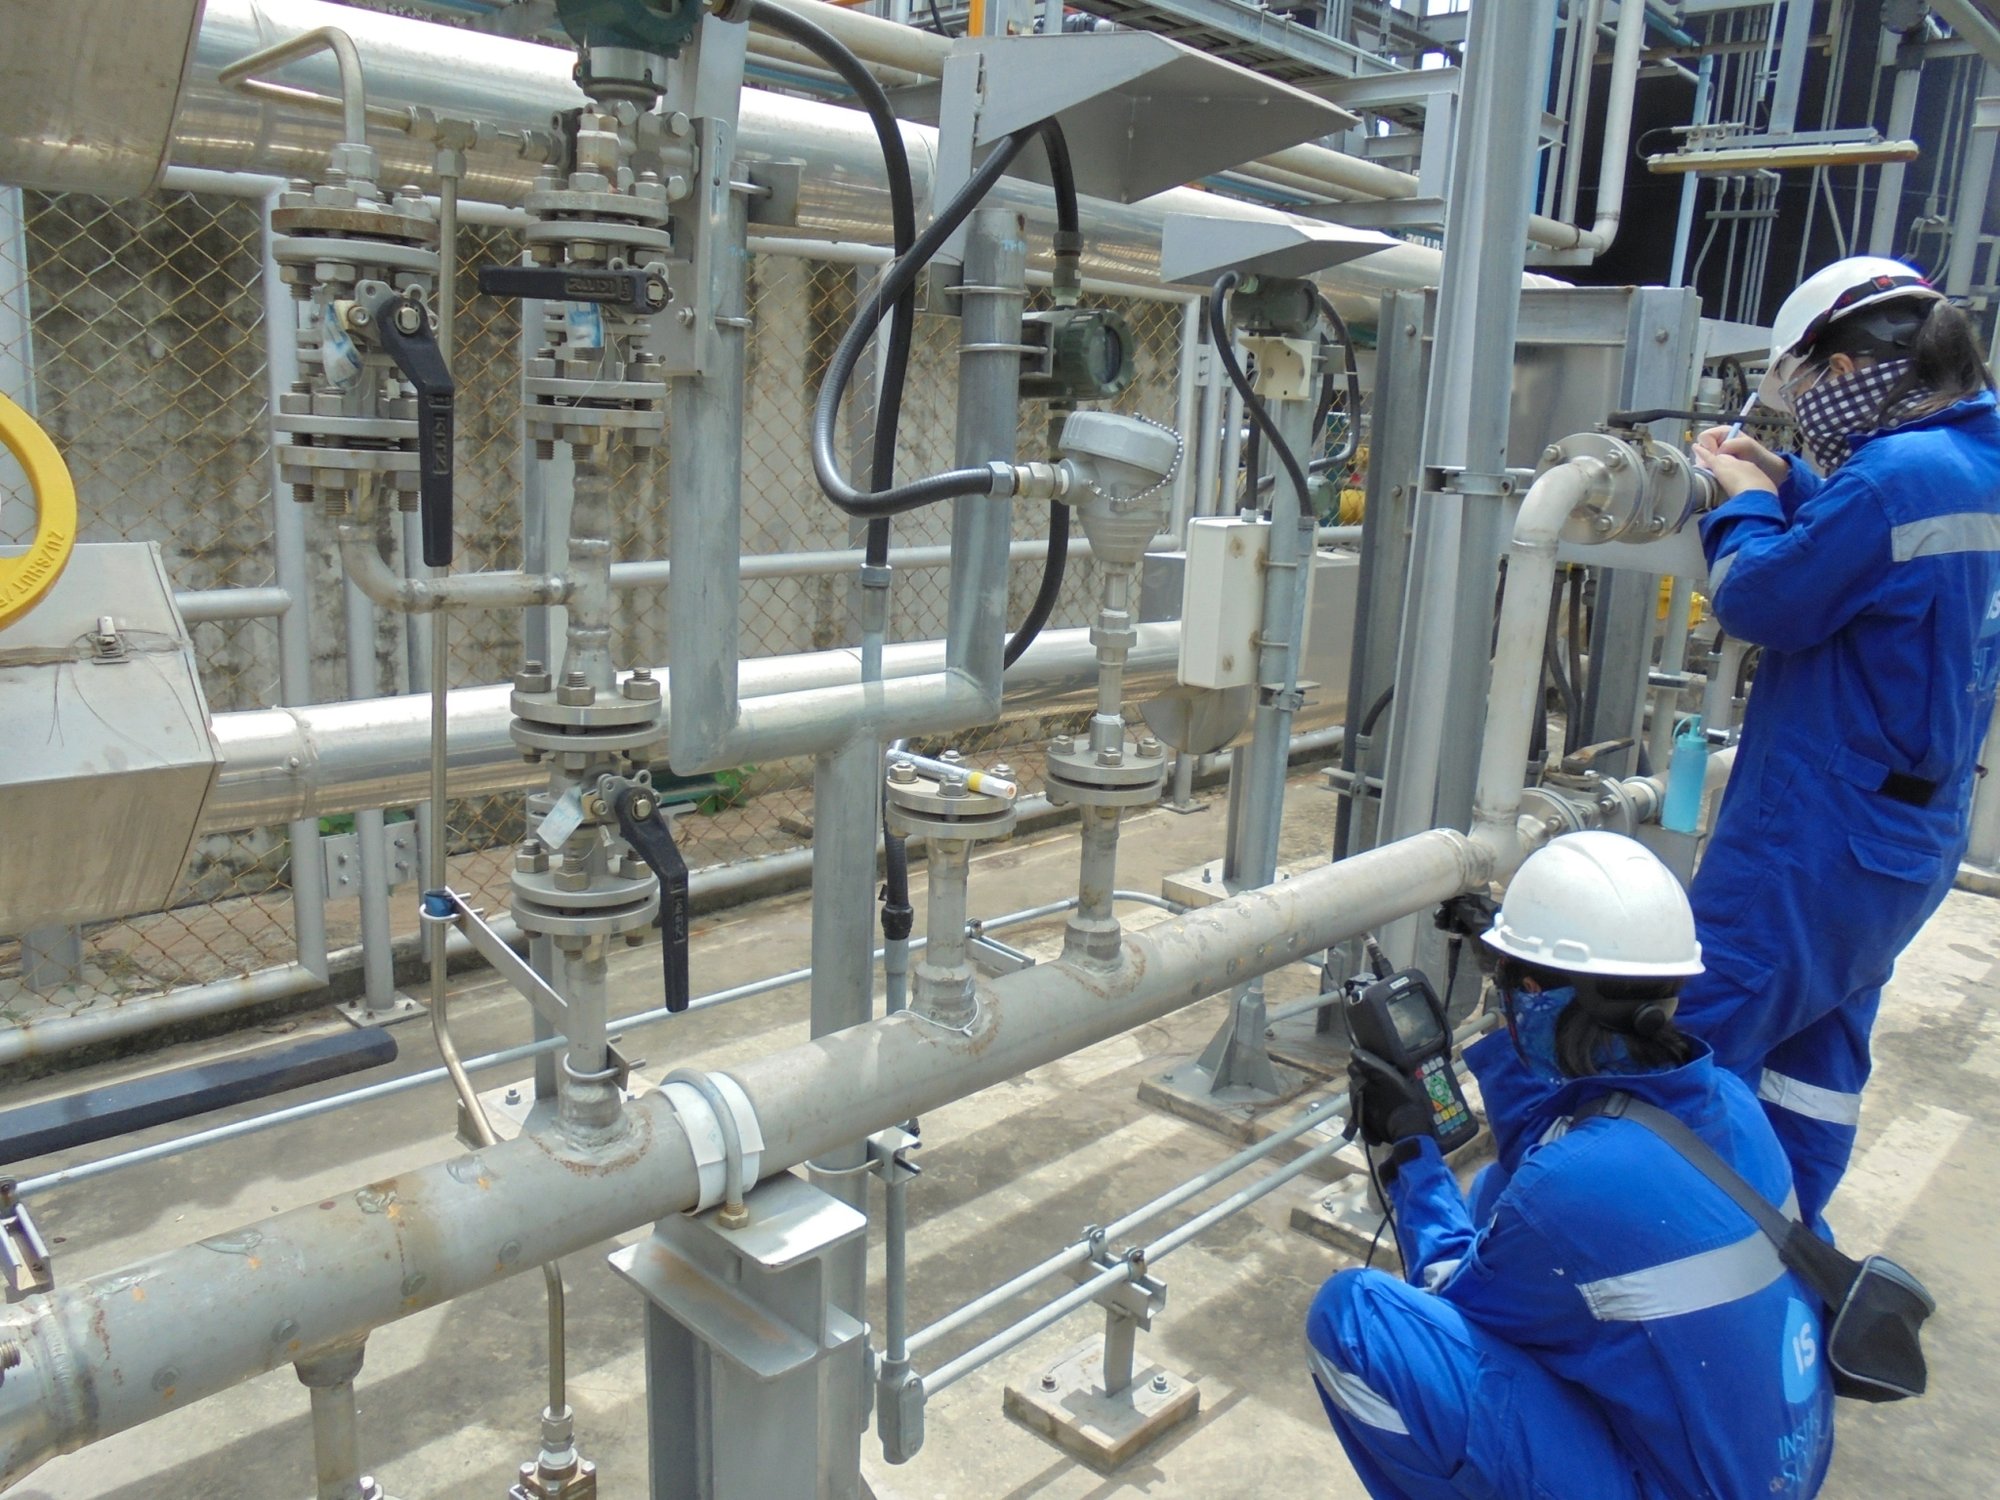
Many of the materials used in industry today can be evaluated by one or more of the ultrasonic techniques using various equipment types (digital thickness gage, manual discontinuity detectors, remote automated scanning systems and others).
Ultrasonic thickness measurement is used extensively in the industry to monitor changes in thickness caused by corrosion and steam or water erosion or for any reason that thickness monitoring becomes necessary.

Visual testing was probably the first method of nondestructive testing. It has developed from its ancient origins into many complex and elaborate optical investigation techniques. Some visual tests are based on the simple laws of geometrical optics. Others depend on properties of light, such as its wave nature. A unique advantage of many visual tests is that they can yield quantitative data more readily than other nondestructive tests.
Visual testing is the observation of a test object, either directly with the eyes or indirectly using optical instruments, by an inspector to evaluate the presence of surface anomalies and the object’s conformance to specification. Visual testing should be the first nondestructive test method applied to an item.
Visual testing is widely used on a variety of objects to detect surface discontinuities associated with various structural failure mechanisms. Even when other nondestructive tests are performed, visual tests often provide a useful supplement. Visual testing is often performed to verify and more closely examine the surface condition. The following discontinuities may be detected by a simple visual test: surface discontinuities, cracks, misalignment, warping, corrosion, wear and physical damage.
Holiday testing, also known as a spark test or pinhole detection, is a non-destructive testing method used to identify discontinuities, such as pinholes, voids, or thin spots, in protective coatings applied to surfaces. The primary purpose of holiday testing is to ensure the integrity and effectiveness of the applied coating, especially in critical applications where corrosion protection or insulation is essential. This method is commonly used in industries such as construction, pipeline, marine, automotive, and manufacturing.
777/32 Moo 9 Bang Pla Sub-district
Bang Phli District, Samut Prakan 10540
Thailand
131/52 Moo 2 Plernjai 4 Village,
Tubma Sub-district, Muang Rayong District,
Rayong 21000, Thailand